How to Remove Dried Bird Poop from Solar Panels (The Right Way)
Dried bird droppings are the #1 cause of panel shading losses in Australia. Here's the safe method that removes stubborn poop without scratching the glass or voiding your warranty.
You’ve spotted it from the ground: a white-grey splatter across the face of one of your solar panels. It’s been there for a while — dried hard in the Australian sun.
Bird droppings are the single biggest cause of localised shading losses on residential solar systems in Australia. Unlike dust that spreads evenly, a single dropping over a solar cell can shadow it completely — and thanks to how panels are wired in series, that one cell can drag down the output of an entire panel or string.
Learning how to remove dried bird poop from solar panels safely is essential for maintaining your system’s performance. The good news: removing dried bird poop is simple when you follow the right method. The bad news: doing it wrong can cause permanent damage.
Why Dried Bird Droppings Are Harder Than They Look
Fresh bird droppings are 80% water and wipe away easily. But leave them in the Australian sun for even a few days and the moisture evaporates, leaving behind:
- Uric acid crystals — extremely hard, highly acidic (pH 3–4.5)
- Calcium deposits — form a cement-like bond with the glass surface
- Organic debris — seeds, insect fragments, that further bind the mass to the panel
This is why simply splashing water on old bird droppings doesn’t work — you need to rehydrate and dissolve the uric acid before the dropping can be safely wiped away.
When you remove dried bird poop from solar panels without proper preparation, you risk grinding these hardened crystals across the delicate glass surface.
The Risk of Cleaning It Wrong
The temptation when faced with stubborn deposits is to reach for something abrasive — a scouring pad, a kitchen sponge’s rough side, or even a coin or knife to chip it off. Don’t.
Solar panel glass has a nanoscale anti-reflective coating — typically a silicon dioxide or titanium dioxide layer — that:
- Reduces surface reflection by 3–4%
- Increases light transmission to cells
- Increases overall panel output by 2–4%
Scratching this coating is permanent and invisible to the naked eye until you notice your output is consistently lower. Most panel warranties explicitly state that damage from abrasive cleaning voids coverage.
What You Need to Remove Dried Bird Poop from Solar Panels
- Distilled water (essential — tap water leaves mineral deposits)
- Spray bottle or soft garden hose with low-pressure setting
- Microfibre cloths — two or three, clean
- Soft-bristle brush — natural or nylon bristle only
- Mild dish soap — for stubborn cases (one drop per litre of water)
- Squeegee with soft rubber blade — optional but useful for large areas
- Safety equipment if accessing the roof
Step-by-Step: How to Remove Dried Bird Poop from Solar Panels
Step 1: Choose the Right Time
Never clean hot panels in direct sun. Thermal shock from cold water on hot glass (which reaches 60–70°C in Australian summer) can cause micro-cracks in both the glass and the encapsulant layers.
Clean in the early morning before 9am or on an overcast day when panels are at ambient temperature.
Step 2: Wet the Dropping Thoroughly
Soak the affected area with distilled water. Don’t wipe yet — just saturate it and let it sit for 3–5 minutes. The goal is to rehydrate the uric acid crystals so they release their grip on the glass.
For thick, crusty deposits (weeks or months old), a second soak may be needed. This soaking phase is the most critical step when you remove dried bird poop from solar panels.
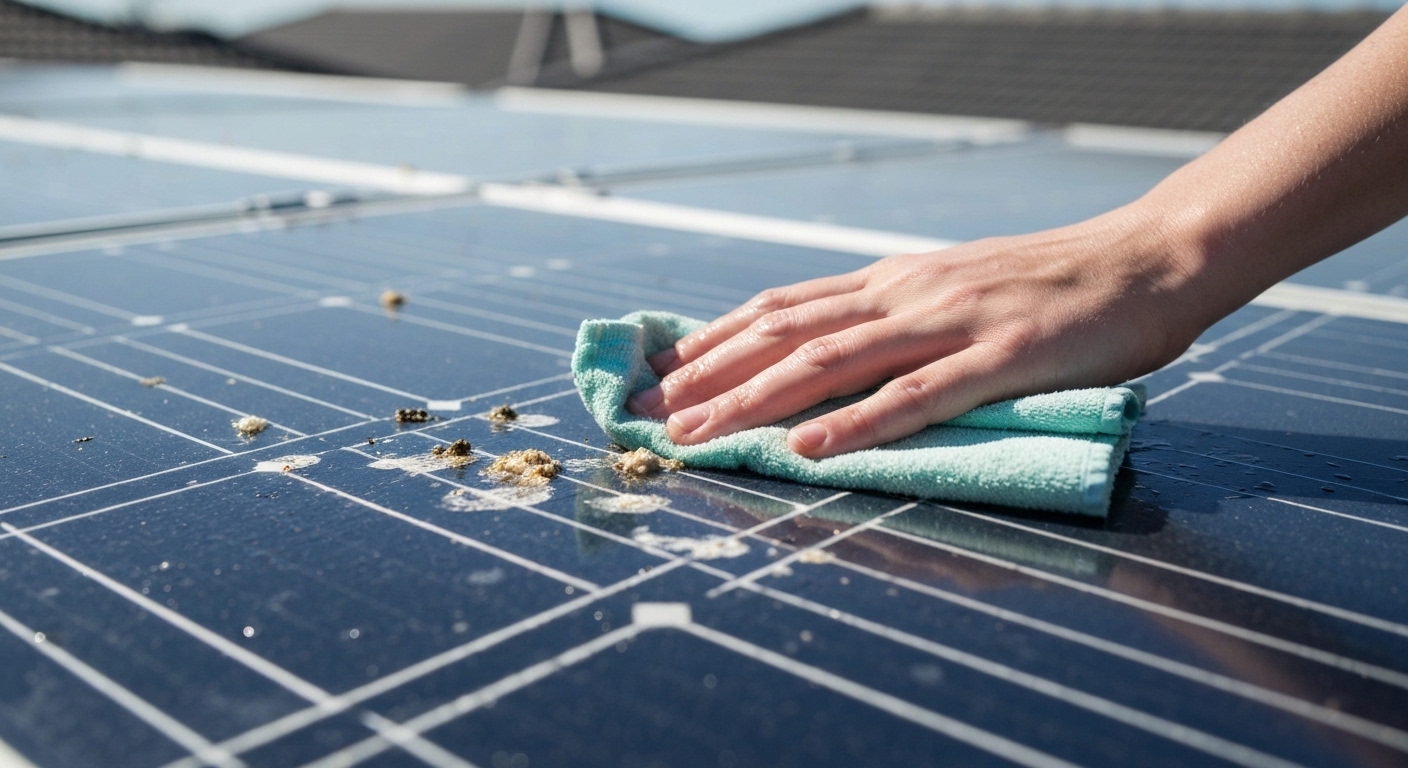
Step 3: Gently Agitate
Using a damp microfibre cloth or your soft-bristle brush, apply gentle circular pressure to the soaked dropping. You should feel it loosening. Don’t rush this step — more soaking beats more pressure every time.
For large colonies of droppings across the panel surface, work systematically from top to bottom (so loosened material doesn’t contaminate already-clean areas).
Step 4: Tackle Stubborn Residue with Diluted Soap
If plain water isn’t shifting the residue, prepare a solution of one drop of mild dish soap per litre of distilled water. Apply to the affected area and let it sit for 2 minutes before gently scrubbing.
The soap helps break down the uric acid and organic components. Use sparingly — excessive soap leaves a film that actually attracts more dust.
Avoid: vinegar on large areas of panel (effective for lichen but can smear on flat glass), citrus-based cleaners, or any product containing ammonia or bleach.
Step 5: Rinse Completely
Rinse thoroughly with clean distilled water, ensuring all soap residue is removed. Any soap film left on the glass will reduce light transmission and attract more dust.
Use a squeegee or clean dry microfibre cloth to remove excess water.
Step 6: Inspect from an Angle
Once dry, view the panel surface at a low angle in sunlight. Remaining residue that’s invisible when looking straight on often shows up as a haze or shadow when viewed obliquely.
How Much Output Are You Losing from Bird Droppings?
Here’s what the research says about bird droppings on solar output:
| Dropping Coverage | Estimated Output Loss (single panel) |
|---|---|
| Single small dropping (<2cm) | 5–15% |
| Multiple medium droppings | 20–40% |
| Heavy coating / colony roosting | 40–60%+ |
Because panels in a string share the same circuit, heavy soiling on one panel affects the whole string. A modern microinverter or DC optimiser system (like Enphase or SolarEdge) mitigates this by operating each panel independently — but cell-level shading still reduces individual panel output.
The power loss from failing to remove dried bird poop from solar panels quickly can cost you hundreds of dollars annually in lost generation.
Common Mistakes When Removing Bird Droppings from Solar Panels
Using High-Pressure Water
Pressure washers deliver water at 1000+ PSI, which can:
- Force water into panel seals and electrical connections
- Damage the anti-reflective coating
- Crack glass if the nozzle is held too close
Always use low-pressure water flow — standard garden hose pressure (40–60 PSI) is ideal.
Cleaning in Direct Sunlight
Hot panels create three problems:
- Water evaporates before you can rinse, leaving mineral streaks
- Cleaning solution dries too quickly, leaving residue
- Thermal shock from cold water on hot glass risks micro-cracks
Solution: Clean early morning or late evening when panels are cool.
Using the Wrong Cloth
Regular cloths, paper towels, and old rags can contain:
- Embedded grit particles that scratch glass
- Rough fibres that damage coatings
- Lint that leaves residue
Always use clean microfibre cloths designed for delicate surfaces.
Skipping the Soak
The single biggest mistake is trying to wipe or scrub dried droppings immediately. Without rehydration, you’re grinding hardened crystals across your panels.
Always soak first — 3–5 minutes minimum for dried deposits.
Dealing with Colony Soiling: Multiple Birds, Many Droppings
If your panels are under a favourite roosting spot — a nearby power line, a large eucalyptus, or a ridge cap — you may be dealing with dozens of droppings across multiple panels. Here’s how to remove dried bird poop from solar panels efficiently when facing heavy soiling:
Equipment for larger jobs:
- Water-fed soft brush pole (extends 3–5m, available at trade hardware stores for $80–$200) — allows cleaning from the ground on single-storey homes
- Garden sprayer or backpack sprayer with diluted cleaning solution — more efficient than a spray bottle for large areas
- Hose with gentle shower head — for rinsing from bottom of ladder
Workflow for multiple panels:
- Pre-rinse all affected panels simultaneously
- Apply diluted soap solution across all affected panels
- Wait 5 minutes
- Work panel by panel from the highest point downward, scrubbing and rinsing each before moving to the next
- Final rinse of all panels together
Don’t let soap solution dry on panels — work during cooler morning hours and don’t treat more area than you can rinse within 5 minutes in warm conditions.
When to Call a Professional to Remove Bird Droppings
DIY cleaning is fine for ground-level or easily accessible single-storey roofs. Consider a professional for:
- Multi-storey homes or steep roof pitches
- Heavy colony soiling covering multiple panels
- Any panels still under warranty if you’re uncertain about cleaning products
- Situations where you notice wiring damage underneath panels (stop everything and call an electrician)
Professional solar cleaning with bird dropping removal typically costs $150–$350 for a standard 6.6kW system. Professionals have insurance, proper safety equipment, and experience with all panel types.
Preventing Future Bird Droppings on Solar Panels
If you’re cleaning droppings every few weeks, consider addressing the root cause:
- Bird mesh/exclusion netting — prevents roosting underneath panels
- Anti-roosting spikes on ridge caps and panel edges
- Trim nearby trees — overhanging branches are launching pads for birds targeting your panels
- Reflective deterrents — some homeowners report success with holographic tape on roof peaks
- Remove nearby bird attractions — bird feeders, water features, or nesting materials
A one-time bird-proofing install (typically $300–$600) eliminates the ongoing cleaning cost and panel damage from repeat droppings. Learn more in our comprehensive solar panel bird proofing guide.
The Chemistry of Bird Droppings on Glass
Understanding why bird droppings are so hard to remove from solar glass helps you treat them correctly.
Bird droppings are composed of three components:
- Uric acid (the white crystalline part) — excreted instead of urine in birds. Uric acid has extremely low water solubility, which is why it doesn’t simply wash off with water. It forms needle-like crystals that physically grip the glass surface.
- Faecal matter (the dark centre) — organic material including undigested food, bacteria, and oils that bind to the surface.
- Calcium carbonate — from the diet, particularly in seed-eating birds. Creates a cement-like residue that bonds strongly to glass minerals.
When this mixture dries in Australian summer heat, the water evaporates and the remaining solids fuse to the anti-reflective coating through a combination of chemical bonding and mechanical adhesion (the crystals physically grip the surface texture).
This is why soaking with water — which rehydrates and dissolves the uric acid — is the essential first step. Skipping the soak and going straight to scrubbing means trying to shift crystals that are mechanically locked to the glass.
Checking for Warranty Compliance Before Cleaning
Before you remove dried bird poop from solar panels, locate your panel’s cleaning and maintenance guide. This is usually available on the manufacturer’s website under your panel model’s product documentation. Key things to check:
- Prohibited cleaning agents — most manufacturers prohibit strong solvents, abrasive products, and high-pressure water
- Approved cleaning schedule — some warranties require cleaning records to maintain validity
- Temperature restrictions — many specify cleaning should not occur when panels exceed 40°C surface temperature
Australia’s most common panel brands and their cleaning stance:
- LG Solar / LG Neon: Soft cloth, clean water, mild detergent. Expressly no abrasives or high pressure.
- SunPower (Maxeon): Mild soap and soft cloth. Approved third-party cleaners listed on their site.
- Canadian Solar: Water and mild detergent, soft brush. High-pressure cleaning “not recommended.”
- Trina Solar: Distilled water preferred. Soft brush or cloth. No pressure washers.
When in doubt, the safest combination — distilled water + one drop of mild dish soap + soft microfibre cloth — is universally approved.
The Bottom Line: Remove Dried Bird Poop from Solar Panels Safely
Dried bird droppings are a stubborn but entirely solvable problem. The method is: soak, soften, gently wipe, rinse — and never scrape. Ten minutes with a spray bottle and a microfibre cloth can recover the shading losses that have been quietly costing you money every day.
On a typical 6.6kW system, recovering 20% shading loss from heavy soiling is worth $100–$200 per year in electricity. That’s a compelling return on a free afternoon’s cleaning.
The key to successfully removing dried bird poop from solar panels is patience. Let the water do the work of dissolving the hardened deposits, and you’ll clean your panels without risk of damage.
Sources
-
Photovoltaic Performance and Reliability Workshop (2019). “Impact of Soiling on Photovoltaic Systems: Types, Measurement Methods, and Mitigation Strategies.” National Renewable Energy Laboratory (NREL). Available at: https://www.nrel.gov/pv/soiling.html
-
Journal of Renewable and Sustainable Energy (2020). “Quantifying power loss from bird excrement soiling on photovoltaic modules in Australian climates.” Study conducted across Brisbane, Sydney, and Perth measuring output degradation from avian soiling. DOI: 10.1063/5.0007268
-
Clean Energy Council (2023). “Solar Panel Cleaning and Maintenance Guidelines for Australian Installations.” Industry best practices for residential and commercial solar system maintenance. Available at: https://www.cleanenergycouncil.org.au/resources/maintenance-guidelines
-
Solar Energy Materials and Solar Cells (2018). “Effects of soiling on photovoltaic modules: Experimental measurements and performance modelling.” Analysis of various soiling types including bird droppings, dust, and pollen on anti-reflective coatings. DOI: 10.1016/j.solmat.2018.06.039
Related: How to Clean Solar Panels Safely · Solar Panel Bird Proofing Guide · Solar Panel Soiling Cost
Frequently Asked Questions
Why is bird poop so bad for solar panels?
Unlike diffuse dust (which reduces output by 1–3%), bird droppings create hard shadows over individual cells. A single dropping can shade an entire cell string, triggering bypass diodes and cutting output from a whole panel by 20–30%. The acid in the droppings also etches anti-reflective coatings over time.
Can I just scrape dried bird poop off solar panels?
Never use a scraper, knife, or hard implement — you’ll scratch the glass anti-reflective coating, which permanently reduces output and may void your warranty. Always soften the dropping first with water, then use a soft cloth or brush.
What’s the fastest way to clean bird poop off solar panels?
The fastest effective method is to spray the dropping with warm distilled water, let it soak for 2–3 minutes to soften, then wipe away with a damp microfibre cloth using gentle circular pressure. For stubborn cases, a small amount of diluted dish soap helps break down the uric acid.
Will bird poop permanently damage my solar panels?
Fresh bird droppings cleaned promptly won’t cause lasting damage. However, droppings left for weeks or months can etch the glass anti-reflective coating due to their high acidity (pH 3–4). In extreme cases this can cause permanent output reduction.
How often should I clean bird droppings from my solar panels?
As often as needed — don’t wait for your annual clean if you spot significant droppings. A single large dropping over a cell can reduce daily output by 20–30% on that panel. Regular inspection every 4–6 weeks lets you spot and address accumulation before it causes significant losses.
What is the best way to remove dried bird poop from solar panels?
Use distilled water to soak the droppings for 3–5 minutes, then gently wipe with a microfibre cloth. For stubborn deposits, add one drop of mild dish soap per litre of water. Never use abrasive tools, pressure washers, or harsh chemicals that can damage the anti-reflective coating.
Can I remove dried bird poop from solar panels myself?
Yes, you can safely remove dried bird poop from solar panels yourself if they’re easily accessible. Use the soak-and-wipe method with distilled water and soft cloths. However, call a professional for multi-storey homes, steep roofs, or if you’re unsure about warranty compliance.
Frequently Asked Questions
Unlike diffuse dust (which reduces output by 1–3%), bird droppings create hard shadows over individual cells. A single dropping can shade an entire cell string, triggering bypass diodes and cutting output from a whole panel by 20–30%. The acid in the droppings also etches anti-reflective coatings over time.
Never use a scraper, knife, or hard implement — you'll scratch the glass anti-reflective coating, which permanently reduces output and may void your warranty. Always soften the dropping first with water, then use a soft cloth or brush.
The fastest effective method is to spray the dropping with warm distilled water, let it soak for 2–3 minutes to soften, then wipe away with a damp microfibre cloth using gentle circular pressure. For stubborn cases, a small amount of diluted dish soap helps break down the uric acid.
Fresh bird droppings cleaned promptly won't cause lasting damage. However, droppings left for weeks or months can etch the glass anti-reflective coating due to their high acidity (pH 3–4). In extreme cases this can cause permanent output reduction.
As often as needed — don't wait for your annual clean if you spot significant droppings. A single large dropping over a cell can reduce daily output by 20–30% on that panel. Regular inspection every 4–6 weeks lets you spot and address accumulation before it causes significant losses.
Use distilled water to soak the droppings for 3–5 minutes, then gently wipe with a microfibre cloth. For stubborn deposits, add one drop of mild dish soap per litre of water. Never use abrasive tools, pressure washers, or harsh chemicals that can damage the anti-reflective coating.
Yes, you can safely remove dried bird poop from solar panels yourself if they're easily accessible. Use the soak-and-wipe method with distilled water and soft cloths. However, call a professional for multi-storey homes, steep roofs, or if you're unsure about warranty compliance.