Solar Panel Output Drop? How to Diagnose and Fix Efficiency Loss
Your solar system is producing less than it should. Here's a systematic guide to finding out why — soiling, shading, inverter faults, degradation, and more.
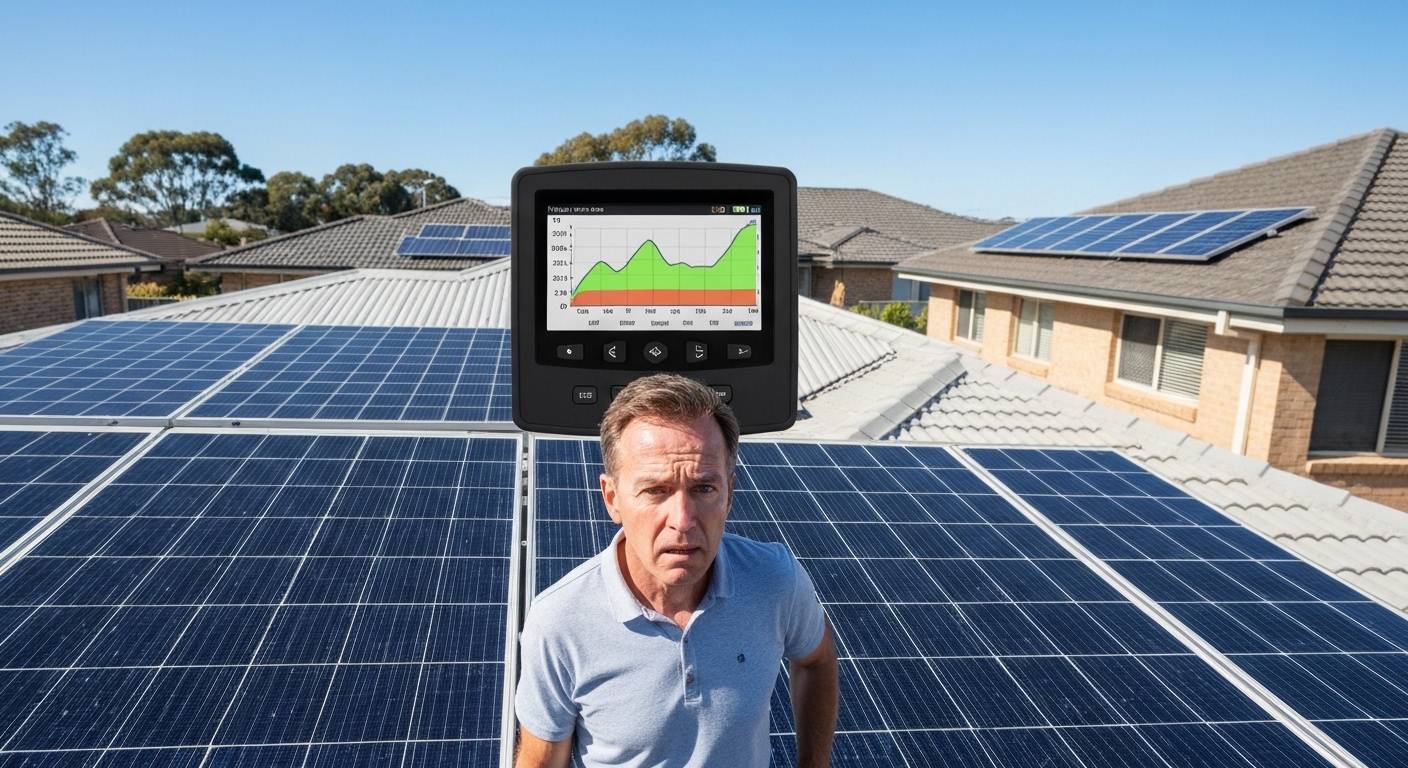
You installed solar panels to save money on electricity. So why does your electricity bill look almost the same as before? Or why is your monitoring app showing output that seems lower than last summer?
Solar panel output drop is one of the most common homeowner frustrations. Diagnosing why your solar panel output dropped has a logical process. This guide walks you through every major cause — from dirty panels to inverter issues — so you can identify the problem and fix it.
Key Takeaways
- Solar panel output drop isn’t always caused by dirt
- Shade from new trees or buildings is a common cause
- Faulty inverters can cut output by half
- Dirty panels reduce output by 10 to 25 per cent
- Start by cleaning the panels, then check the inverter
- If output stays low after cleaning, call an electrician
How to Know If Your Solar Panel Output Dropped
Before assuming something is wrong, establish a baseline. Solar output varies with season, weather, and your home’s power use.
Three factors affect solar output:
- Season — winter output in southern Australia can be 30–50% below summer due to lower sun angles and shorter days
- Weather patterns — cloud cover varies year to year. A cloudy month shows lower generation regardless of system health
- Your power use — if you’re exporting less, you may be using more power at home, not generating less
How to check accurately:
- Open your inverter monitoring app (SolarEdge, Fronius, SMA, Enphase, Goodwe, etc.)
- Find your total daily or monthly kWh generation — not consumption
- Compare to the same calendar period last year
- Correct for obvious weather differences (check BOM historical solar radiation data for your area)
A 10% or larger unexplained drop versus the same period last year means you have a real problem worth investigating.
Common Causes of Solar Panel Output Drop
Understanding why solar panel output drops helps you diagnose faster. Here are the six most common causes in Australian installations:
1. Dirty Solar Panels (Most Common)
Soiling is the top cause of solar panel output drop. Dust, bird droppings, and pollen block sunlight from reaching the cells.
Australian research shows soiling causes 10–20% average output loss. The Clean Energy Council reports losses above 25% after dust storms or extended dry periods.
Soiling spikes occur after:
- Dust storms or strong inland wind events
- Extended dry periods (no rain to rinse surface dust)
- Heavy bird season activity (nesting peaks in spring)
- Bushfire smoke events (fine carbon particulates resist rain washoff)
- Pollen season in high-pollen areas (Melbourne, Adelaide hills, coastal NSW)
Quick test: If panels look visibly dirty, book a professional clean. Then compare output over the next 48–72 hours with similar weather. If output recovers, soiling was your problem.
2. New Shade on Your Panels
Shading is the second most common cause of solar panel output drop. This happens on systems running for 3–5+ years.
Things that create new shading:
- Tree growth — trees clear at installation may now cast shadows
- New structures — a neighbour’s pergola, second storey, or their new solar panels
- Antennas, satellite dishes, HVAC units added to your roof
- Bird nests under panels (shade portions of multiple panels)
How to check: Observe your roof at different times of day. Focus on mid-morning and mid-afternoon. Shading even a small portion of one panel significantly reduces output in series-wired strings.
3. Inverter Problems
Your inverter converts DC power from panels into usable AC power. Inverter issues cause complete shutdown or reduced output.
Signs of inverter problems:
- Error codes or warning lights on the display
- Any strings or panels showing zero output in your app
- Significantly lower output from one panel versus adjacent panels
- Fault history in inverter logs over the past 30–90 days
The Clean Energy Council recommends checking inverter logs quarterly for residential systems.
4. Individual Panel Faults
If you have microinverters (Enphase) or DC optimisers (SolarEdge), your app shows individual panel output.
Signs of panel problems:
- One or more panels producing 20–40% less than adjacent panels
- A panel showing zero output while others work normally
- Intermittent output drop on a specific panel at the same time each day
Panel-specific issues include:
- Bird dropping hot spots — droppings on one cell create a shadow that damages the cell over time
- Physical damage — micro-cracks appear as spiderweb patterns in raking light
- Connector issues — water ingress in MC4 connectors causes high-resistance faults
5. Panel Degradation (Systems 5+ Years Old)
All solar panels degrade over time. This is expected and covered by performance warranties.
Typical degradation rates for tier-1 panels:
- Year 1: 2–3% (first-year light-induced degradation — normal)
- Years 2–25: 0.3–0.7% per year
A 10-year-old system typically shows 7–10% output reduction versus Day 1. This is normal.
Abnormal degradation signs:
- More than 1% per year decline over 5+ years
- Visible yellowing or browning of cells
- Any cell appearing significantly darker or lighter than neighbours
6. Network Export Limits
In some states, network distributors impose export limits that change over time. Check your connection agreement if output suddenly drops during peak generation hours (10am–2pm).
Step-by-Step: How to Diagnose Solar Panel Output Drop
Follow this diagnostic process to identify why your solar panel output dropped:
Step 1: Check Your Monitoring Data
Open your inverter app. Compare current output to the same period last year. Look for a 10%+ unexplained drop.
This confirms you have a real problem, not just seasonal variation.
Step 2: Inspect for Dirt (Start Here)
Go outside on a clear day. Look at your panels from ground level.
Visual inspection: A thin uniform haze is fine. Heavy brown coating, bird droppings, or visible debris require cleaning.
If panels are dirty, clean them or book a professional service. Compare output over the next 48–72 hours. If output recovers, you’ve solved the problem.
Step 3: Look for New Shading
Check your roof at different times of day. Look for shadows cast by trees, structures, or equipment.
Even small shadows on one panel can reduce the whole string’s output.
Step 4: Check Your Inverter
Look at the inverter display. Check for error codes or warning lights.
Open your monitoring app. Check if any strings or panels show zero output or much lower output than adjacent panels.
Google any error codes with your inverter brand. Most manufacturers publish fault code databases.
Step 5: Check Individual Panel Performance
If you have module-level monitoring, check individual panel output in your app.
Look for panels producing 20%+ less than neighbours in similar conditions. This indicates a panel-specific problem.
Step 6: Consider Panel Age
For systems 5+ years old, expect 7–10% total degradation. This is normal.
If degradation exceeds 1% per year, or you see visible discolouration, arrange a thermal inspection.
When Solar Panel Output Drops: Normal vs Abnormal
Understanding seasonal variation helps you know if your solar panel output drop is normal.
| Season | Expected Output vs Peak Summer |
|---|---|
| Summer (Dec–Feb) | 100% — benchmark period |
| Autumn (Mar–May) | 70–80% |
| Winter (Jun–Aug) | 45–65% (location-dependent; VIC/NSW lowest) |
| Spring (Sep–Nov) | 80–95% |
If your summer-to-summer comparison shows a 10%+ drop not explained by soiling, shading, or weather, investigate further.
When to Call a Professional for Solar Panel Output Drop
Contact a CEC-accredited solar service technician when:
- Error codes persist after a standard reset
- Output remains depressed after cleaning and ruling out shading
- You suspect physical damage to panels (cracking, delamination, discolouration)
- System is over 5 years old and you’ve never had a professional inspection
- You want a formal thermal imaging assessment
- You’re preparing to sell your home and want documented system health
Expect to pay $150–$350 for a professional inspection, depending on system size.
Quick Diagnosis: What Causes Solar Panel Output Drop
| Symptom | Most Likely Cause | First Action |
|---|---|---|
| Gradual decline over weeks/months | Soiling or seasonal variation | Clean panels, compare output |
| Sudden 50%+ drop | Inverter fault or string fault | Check inverter display/app for errors |
| Zero output | Inverter shutdown or string failure | Check inverter, check isolator switches |
| One panel/string low | Shading, soiling, or panel fault | Check for shading; clean; check module monitoring |
| Output okay in morning, drops midday | New afternoon shade source | Check for new obstructions to the west |
| Post-rain output lower | Mineral spotting from tap water | Check water source; inspect for spotting |
Preventing Future Solar Panel Output Drop
Once you’ve fixed the problem, prevent future output drops:
Regular maintenance schedule:
- Visual inspection: Every 3 months (check for dirt, shade, physical damage)
- Professional cleaning: Every 6–12 months (more often in dusty areas)
- Inverter log check: Monthly (look for error codes or performance changes)
- Professional inspection: Every 5 years (includes thermal imaging for systems 5+ years old)
The Clean Energy Council recommends annual professional inspections for all residential solar systems.
Conclusion
Most solar panel output drops have a straightforward cause. Dirty panels, new shade, or minor inverter issues are the most common culprits.
Work through the diagnostic checklist systematically. Start with cleaning — it solves the problem more often than you’d expect. It’s the easiest and cheapest diagnostic step.
If cleaning doesn’t restore output and you’ve ruled out shading, check your inverter for errors. Persistent problems require a CEC-accredited technician.
Last updated: April 2026. For system-specific diagnostics, consult your inverter manual and CEC-accredited installer.
See also How to Read Solar Inverter Output Australia, Hot Spots Solar Panels Causes Solutions, and When to Replace vs Clean Solar Panels.
Sources
-
Clean Energy Council. (2024). Best Practice Guide: Installation and Maintenance of Solar PV Systems in Australia. Retrieved from https://www.cleanenergycouncil.org.au
-
CSIRO. (2023). Solar Panel Soiling and Performance Loss in Australian Climates. Commonwealth Scientific and Industrial Research Organisation.
-
Australian PV Institute. (2024). Mapping Australian Photovoltaic Installations: Performance Analysis. APVI Solar Map Project. Retrieved from https://pv-map.apvi.org.au
-
Bureau of Meteorology. (2024). Solar Radiation Data and Historical Climate Records. Australian Government. Retrieved from http://www.bom.gov.au/climate/data/
Frequently Asked Questions
Why is my solar system producing less power than expected?
Common causes include panel soiling (dust, bird droppings), shading from new obstructions (trees, new buildings), inverter faults or throttling, individual panel degradation, or seasonal variation. The most overlooked cause is simply dirty panels — soiling can reduce output by 10–25%.
How do I know if my solar panels are underperforming?
Compare your current daily output (kWh) to the same period in a prior year, or to the system’s rated output adjusted for sunlight hours. A 10%+ unexplained drop is worth investigating. Most inverter apps show historical production data for easy comparison.
How much does soiling affect solar panel output?
Research across Australian installations consistently shows soiling causes 10–20% average output loss, with peaks above 25% after significant dust events or extended fouling by bird droppings. Even light uniform dust reduces output measurably.
Can a single dirty panel reduce the whole system’s output?
Yes — in series-wired string systems (the most common residential configuration), a single heavily soiled or shaded panel can disengage its entire string, drastically reducing whole-system output. This is why a single bird-dropping hot spot can affect many panels.
What’s the first step when diagnosing a solar panel output drop?
Start by checking your inverter monitoring app to compare current output to the same period last year. Then inspect panels visually for dirt or shading. Clean the panels if needed. Check your inverter for error codes. If the problem persists after cleaning and no errors appear, contact a CEC-accredited solar technician.
Do I need a professional to diagnose solar panel output problems?
Most solar output problems can be diagnosed at home. Check your monitoring app, visually inspect panels for dirt or shade, and look for inverter error codes. If you find persistent errors, physical damage, or output stays low after cleaning, then call a professional. A thermal inspection or electrical testing requires professional equipment.
Frequently Asked Questions
Common causes include panel soiling (dust, bird droppings), shading from new obstructions (trees, new buildings), inverter faults or throttling, individual panel degradation, or seasonal variation. The most overlooked cause is simply dirty panels — soiling can reduce output by 10–25%.
Compare your current daily output (kWh) to the same period in a prior year, or to the system's rated output adjusted for sunlight hours. A 10%+ unexplained drop is worth investigating. Most inverter apps show historical production data for easy comparison.
Research across Australian installations consistently shows soiling causes 10–20% average output loss, with peaks above 25% after significant dust events or extended fouling by bird droppings. Even light uniform dust reduces output measurably.
Yes — in series-wired string systems (the most common residential configuration), a single heavily soiled or shaded panel can disengage its entire string, drastically reducing whole-system output. This is why a single bird-dropping hot spot can affect many panels.
Start by checking your inverter monitoring app to compare current output to the same period last year. Then inspect panels visually for dirt or shading. Clean the panels if needed. Check your inverter for error codes. If the problem persists after cleaning and no errors appear, contact a CEC-accredited solar technician.
Most solar output problems can be diagnosed at home. Check your monitoring app, visually inspect panels for dirt or shade, and look for inverter error codes. If you find persistent errors, physical damage, or output stays low after cleaning, then call a professional. A thermal inspection or electrical testing requires professional equipment.